

Gift Certificates
Overview
Site using version 4.x
On 4.x sites, gift certificates are added as products. You can set up gift certificates for a set amount or for a customer-choice amount. Your customers will be able to purchase a gift certificate for a set amount or any amount directly on your site with these simple steps:
1. Go to the gift certificates page to choose which certificate they wish to purchase.
2. Fill out the gift certificate form, designating whether they want us to automatically notify the recipient about the gift or if they would prefer to do the honors themselves.
3. They then add the item to their cart and check out as usual.
4. Once they submit the order, an html-formatted email that coordinates with the colors of your website will automatically be sent with instructions on how the recipient can shop on your site. You will also be notified by email that someone has purchased a gift certificate.
Gift Certificate Payment Methods
Payment methods for purchasing a gift certificate will be the same as for other purchases on your site. If you do auto-payment processing for credit cards, the gift certificate will be available to use right away. If you do not do auto-payment processing, or if someone chooses a method other than credit card, then you will need to activate the gift certificate in your Site Manager once payment has been received.
Managing Gift Certificates
Access your Gift Certificate Manager by clicking "gift certificates" in the upper left corner of your Site Manager.
Each gift certificate purchased from the website will have the following information:
1. Active status. The Gift Certificate will be Active automatically if you use real-time payment processing (Visa, Mastercard through a gateway such as Authorize.Net).
2. Unique gift certificate code
3. Dollar amount
4. Minimum order amount.
The default is $0, so if you want a higher amount, this will need to be set manually.
4. Notes
This will show when the gift certificate is used and if there is any remaining amount. You may add additional notes.
5. Gift from information
6. Gift to information
You may set up gift certificates manually by clicking the "New Gift Certificate" link and entering, at minimum, the active status, code, and dollar amount. You would need to notify the recipient with the code.
Setting Up Gift Certificates in Version 4.x
In version 4.x, gift certificates are added as items in the Gift Certificate category. Each gift certificate can be set up to be for a specified amount, or an amount the customer chooses. During the default set up, one of each type is automatically entered in your gift certificates category.
Set amount gift certificates
When adding a set amount gift certificate:
1. Set the price and the minimum price to the same amount and be sure the "allow price override" field is set to "no".
2. Be sure to change the item type to "Gift Certificate".
Customer-choice gift certificates
You shouldn't need to add any additional customer-choice gift certificates. If you do, be sure to set the item type to "Gift Certificate" and "allow price override" to "yes".
If you don't want to offer the default customer-choice item, you should just hide it.
You can set a minimum order amount for customer-choice gift certificates.
Checking Gift Certificate Status Online
As of MightyMerchant version 3.624, the amount and status of a gift certificate can be accessed online by going to: www.domain.com/home/yourstoreid/checkgift
Updating Amount and Status of Gift Certificates Online
If you allow your customers to use website-purchased gift certificates in your brick-and-mortar store, we now have a feature that allows you or your store employees to update the amount of the gift certificate online without logging into your Site Manager.
Let MightyMerchant know if you are interested in adding this feature.
Choosing Gift Certificate Layouts on Responsive Sites
Websites on version 5 of the MightyMerchant platform have a variety of choices for the gift certificate design that is emailed to the recipient. To choose your gift certificate layout, log in to your Site Manager and navigate to your Gift Certificate category (usually found under your Product Catalog). Click the Gift Certificate category name to edit and set the layout you would like to use. Instructions are below:
Basic Layout Options
Basic layouts use your logo, which you will load as the category image.
1. Default email certificate
This is a very basic email layout -- text only. To choose this layout, select "default" from the Component Layout menu.
2. Email certificate with logo and bow
With this layout, your customers can choose from a variety of ribbon colors.
![]()
To set up this layout:
- Select "logo-bow" from the Component Layout menu.
- Upload your logo into the Gift Certificate Logo category.
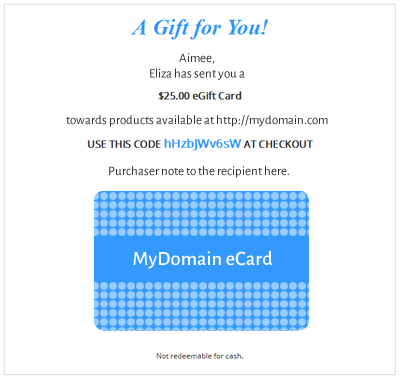
3. Email certificate with logo and card
![]()
To set up this layout:
- Select "logo-card" from the Component Layout menu.
- Upload your logo into the Gift Certificate Logo category.
- To set the color for the highlights, enter the hexidecimal number (for example, #890916) in the field titled "Hex Color for GC Highlights." It is necessary to include a pound sign "#" before the number for the color to appear. If you don't know the hex number for the color you would like, we would suggest you visit the Color Picker on Google
Custom Layouts Options
Custom layouts allow you to create multiple gift certificates with different images. You might want to choose these layouts if you would like to offer different designs for holidays or other occasions.
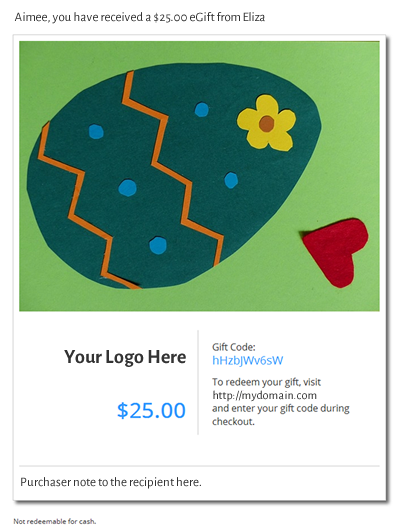
1. Custom email certificate layout 1
To set up this layout:
First, click directly on the Gift Certificates category name to edit the category.
- Select "pimage-layout1" from the Component Layout menu.
- To set the color for the highlights, enter the hexidecimal number (for example, #890916) in the field titled "Hex Color for GC Highlights." It is necessary to include a pound sign "#" before the number for the color to appear. If you don't know the hex number for the color you would like, we would suggest you visit the Color Picker on w3school.com
Next, set up each gift certificate as an item in the Gift Certificates category.
- For each item that you add, you will upload an image in the product image field.
2. Custom email certificate layout 2
To set up this layout:
First, click directly on the Gift Certificates category name to edit the category.
- Upload your logo to the category logo field.
- Select "pimage-layout2" from the Component Layout menu.
- To set the color for the highlights, enter the hexidecimal number (for example, #890916) in the field titled "Hex Color for GC Highlights." It is necessary to include a pound sign "#" before the number for the color to appear. If you don't know the hex number for the color you would like, we would suggest you visit the Color Picker on w3school.com
Next, set up each gift certificate as an item in the Gift Certificates category.
- For each item that you add, you will upload an image in the product image field.
Manually Creating Gift Certificates v4.81+
1. In the Gift Certificates Manager ("gift certificates"), click the New Gift Certificate link (to the left of the search field)
2. Fill in the following fields:
- Set the account to active
- Add a note to tell the customer what the gift certificate is for (optional)
- Enter the customer's email address in the Gift To field
- Don't put anything in the Gift From or Buyer Email fields.
3. Save
4. On the main Gift Certificates page, click the Resend link for the newly-generated gift certificate.
The resend link:
- Sends a copy of the gift certificate to the customer
- Sends a message to you that the gift certificate was sent