Editing Navigation in MightyMerchant
- Adding a Category to the Main Navigation
- Adding a Category or Items to the Footer
- Adding a Category or Items to the Secondary Navigation
- Adding a Category to the Dropdown Menu of a Parent Category
- Adding Items to the Dropdown Menu of a Parent Category
Introduction
In this article we will go over how to set categories and/or items to show in the navigation areas of your website.
If you would like to know more about what categories and items are and how they work, you can learn more here:
Adding a Category to the Main Navigation
- First go to edit that category in the Site Manager.
- Scroll down to find “Show in Main Nav”.
- Select “Yes” and Save.

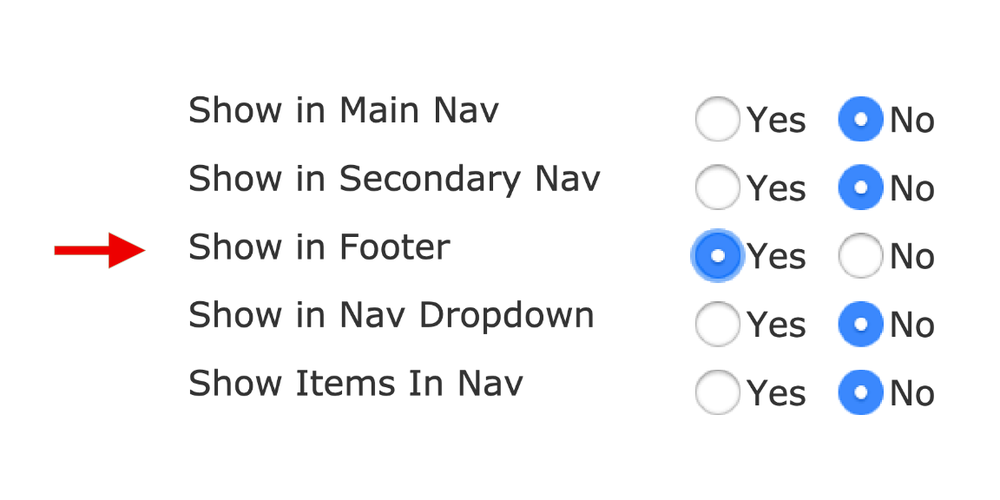
Adding a Category or Items to the Footer
- First go to edit that category in the Site Manager.
- Scroll down to find “Show in Footer”.
- Select “Yes” and Save.
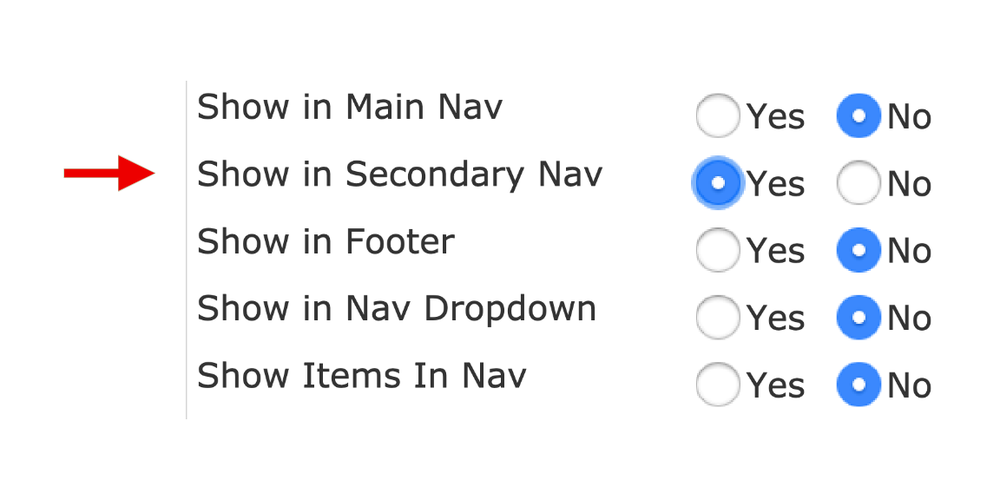
Adding a Category or Items to the Secondary Navigation
Some of our sites have two navigations In the header area of the site. The secondary navigation can have any category in it. Typically it contains links to contact forms, blogs, FAQ, etc.
- First go to edit that category in the Site Manager.
- Scroll down to find “Show in Secondary Nav”.
- Select “Yes” and Save.
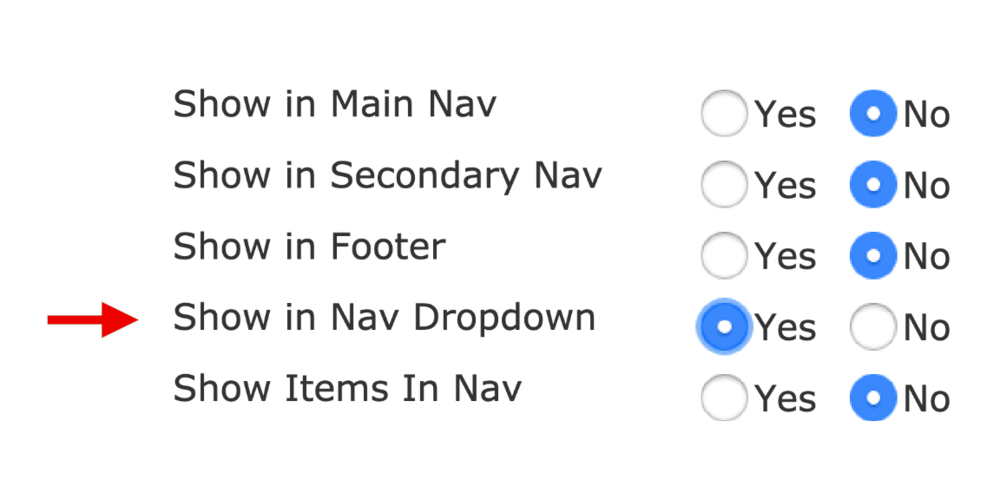
Adding a Category to the Dropdown Menu of a Parent Category
A category in the top level of your navigation will automatically show the subcategories in that category in the dropdown menu. To edit what categories show in the dropdown menu:
- First go to edit the category you want to add in the Site Manager.
- Scroll down to find “Show in Nav Dropdown”.
- Select “Yes” or "No" and Save.
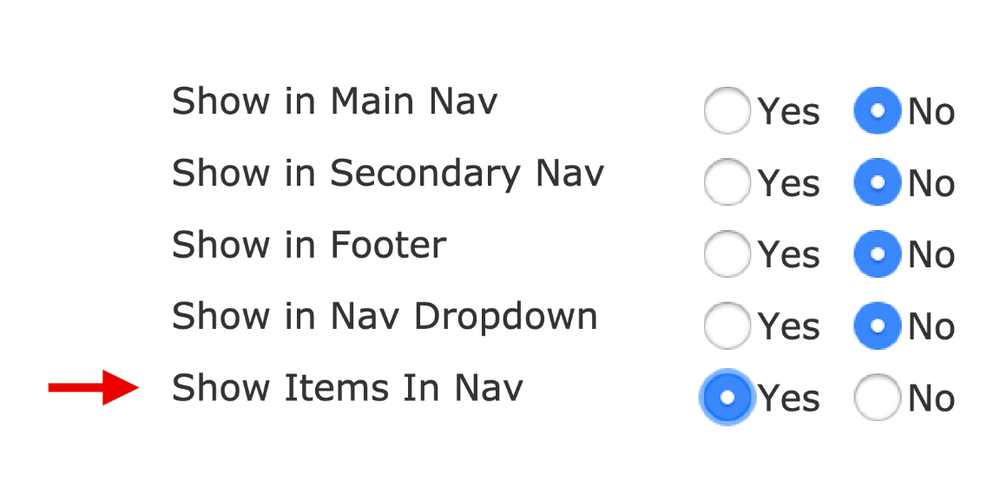
Adding Items to the Dropdown Menu of a Parent Category
By default, the items in a category don't show in the dropdown menu. If you want to show items in the dropdown menu follow these steps:
- Go to edit the parent category that holds the items you want to show in the dropdown navigation.
- Scroll down to find “Show Items In Nav”.
- Select “Yes” and Save.