

Using the Help Beacon

The Help Beacon easily allows you to send us a support request from anywhere on your site or in your site manager. Just follow these steps to use it:
1. Make sure you are logged into your site manager.
2. Navigate to the page that illustrates your question. It can be anywhere in your site manager or on your site. Using the Help Beacon will tell us what page you are on and what web browser you are using so we can answer your question more quickly and effectively.
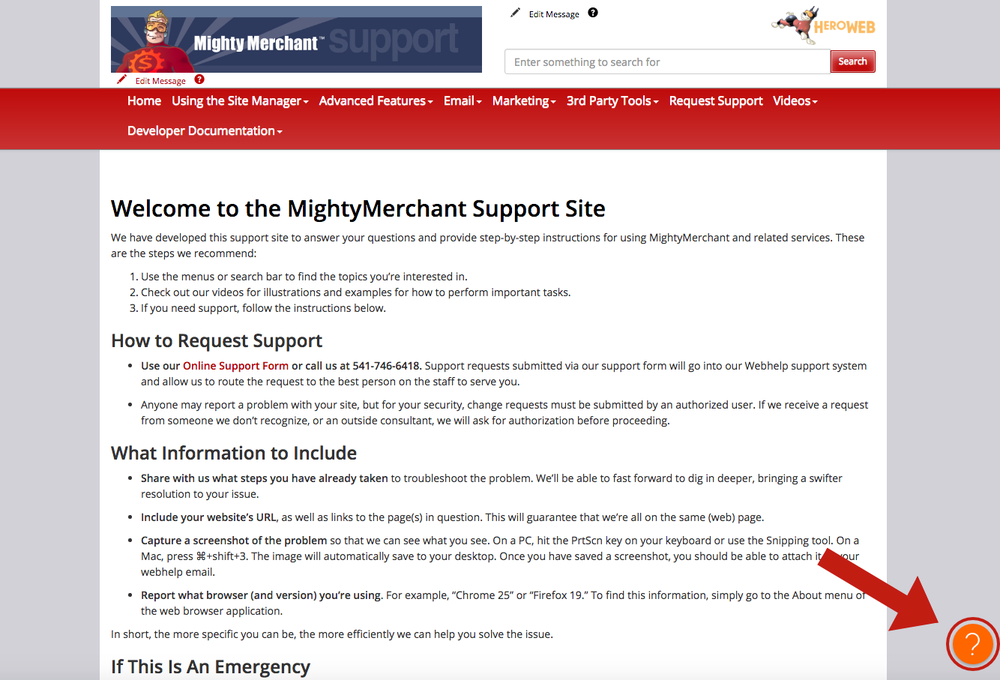
3. Click the orange Help Beacon icon in the lower right hand corner of your screen.
4. Fill out all the fields in the form along with your question.
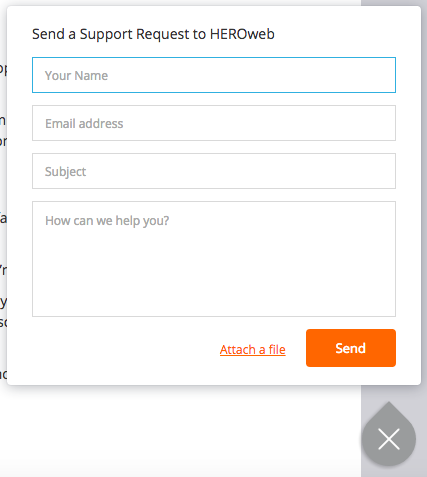
You also have the option to attach a screenshot to your request. It is not required for us complete your request. If you choose to attach a screenshot, see further instructions under "Creating a Screenshot"
6. Click the "Send" button to submit your support request.
Creating a Screenshot
- To attach a screenshot click "Attach a file".
- A window will then appear.
- Navigate to the place where the screenshot is saved on your computer.
- Select the image and click "Open".
- Your file should then be attached to your support request.
For Mac Users
- Press Command+Shift+4.
- Move the crosshair pointer to where you want to start the screenshot.
- Click and drag to select an area.
- When you've selected the area you want, release your mouse or trackpad button.
- The screenshot will automatically save as a .png file on your desktop.
For PC users
- To take a screenshot of the window you are viewing, press Alt+Print Screen. The Print Screen key can be found in the upper-right corner. It will likely be labeled as either PrtScn or PrtSc.
- The screenshot will then be automatically copied to your clipboard.
- Then you will need to paste the screenshot into a program like Paint.
- You can now save the image to an easy to find place.
Use Google to find more detailed instructions on how to take a screenshot on your specific device.