Using The MightyMerchant Text Editor
You can use the MightyMerchant Text Editor to edit the content of your web pages from within the MightyMerchant Site Manager. The Text Editor is available on your Edit Item and Edit Category pages in the Site Manager.
Adding an Image
- Save the image you plan to use in a place where it will be easy to find. (e.g., Desktop)
- In site manager click 'Edit' next to the category or item where you plan to add the image.
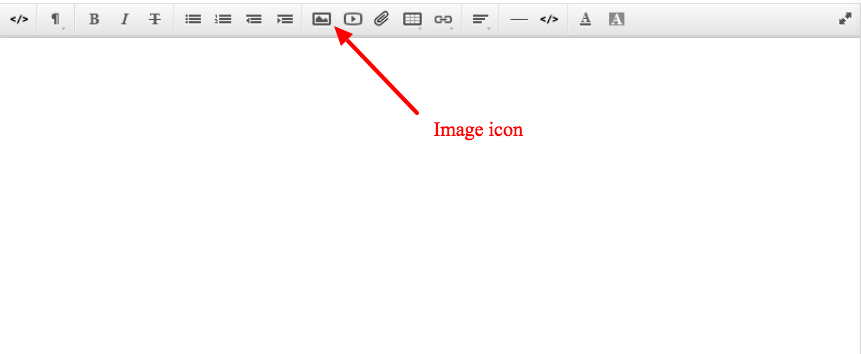
- In the text editor, click the "Insert Image" icon.
- Select "Choose File" and navigate to your saved image.
- Select 'Insert' to insert your image.
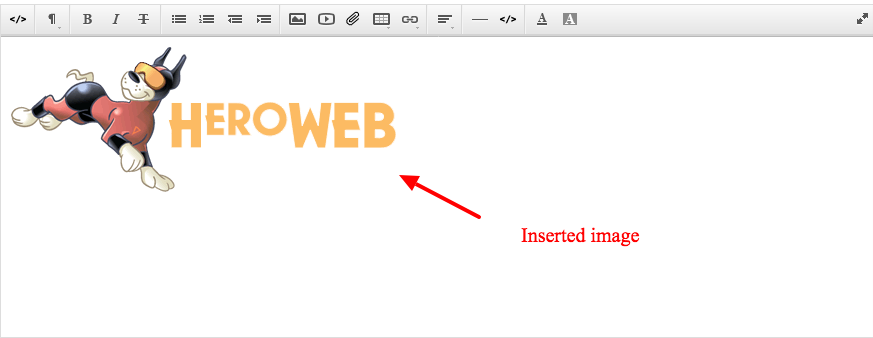
Once the image is added to your page, you can edit the title, add a link, and adjust the placement and size of the image by double-clicking on the image.
Note: If you're wanting to add multiple images and text blocks in the editor, it's often easiest to create a table first, then place your elements within the table cells.
Adding a PDF
- Save the pdf you plan to use in a place where it will be easy to find. (e.g., on your Desktop)
- In site manager click 'Edit' next to the category or item where you plan to add the pdf.
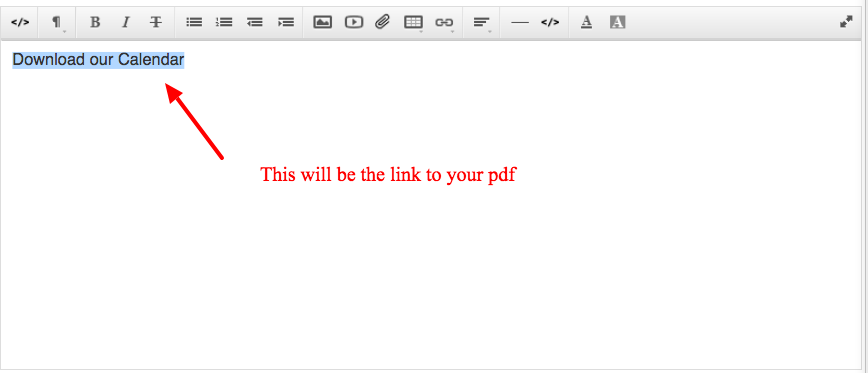
- In the text editor, add the text that will be the link to your pdf (e.g. Download Calendar), then drag your cursor over that text to select it.
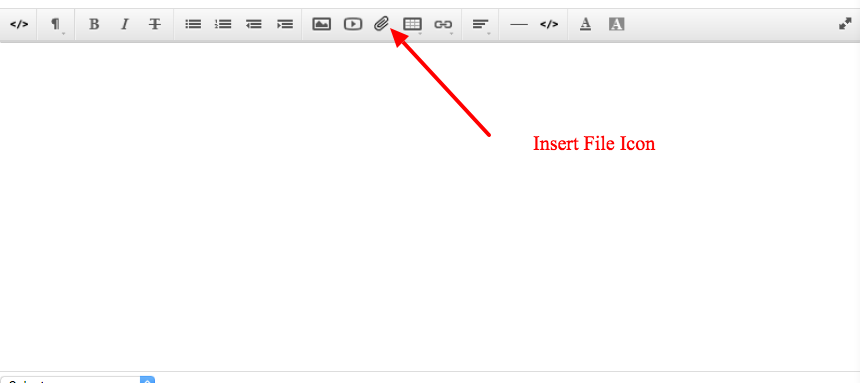
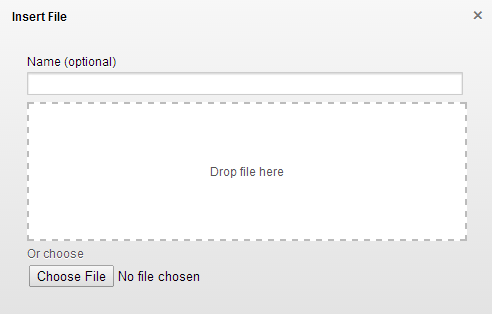
- In the text editor, click the "Insert File" icon.
- Click "Choose File" and navigate to your saved pdf.
- Select your pdf and the text you selected will now be a link to that pdf.
Adding a Video
- Go to YouTube and copy the embed code for the video you want to embed (you can access the code from the YouTube page by clicking "Share" and then "Embed.")
- In site manager click 'Edit' next to the category or item where you plan to add the video.
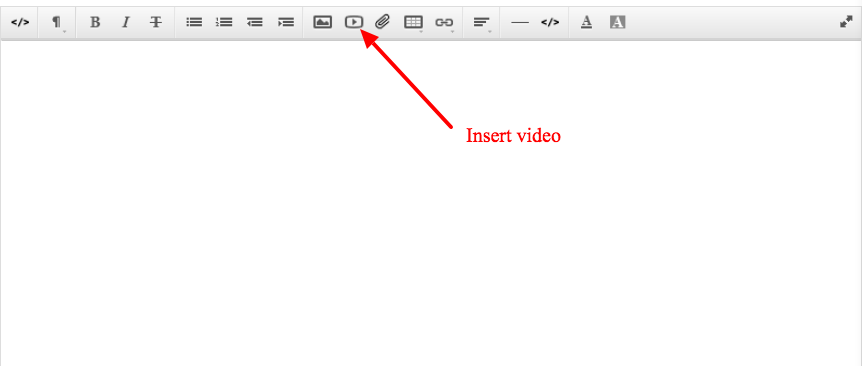
- Click the 'Insert Video' icon.
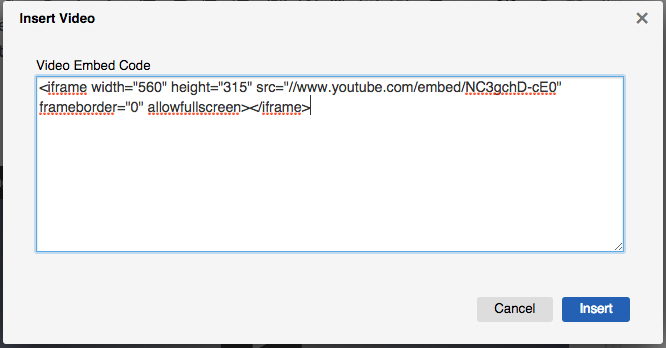
4. Paste the copied embed code into the box and click 'Insert'.
Adding a Link
- Copy the URL or web page address of the web page that will be the link destination.
- In site manager click 'Edit' next to the category or item where you plan to add the link.
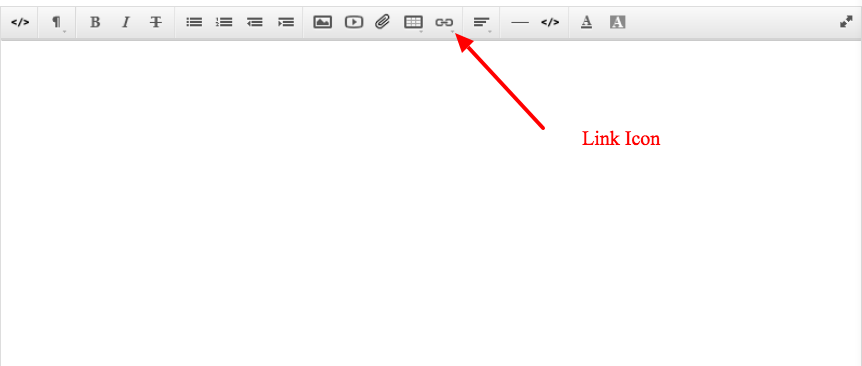
- In the text editor, click the "Link" icon.
- Select "Insert Link".
- Paste the url that you copied earlier into the URL Field.
- Add the text that will be the link text to the Text Field (e.g. 'Find Help on our Support Site')
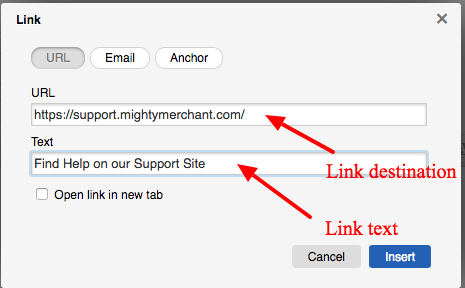
- Select "Insert".
Tips & Tricks
In addition to the buttons described below, here are some shortcuts to help you with the MightyMerchant Text Editor:
- You can copy any text to add to the editor without any of the formatting by pressing the shift key when you paste (ctrl/cmd + shift + v)
- Hitting return on your keyboard defaults to a double spaced line in the editor, if you want to just use a single spaced line, press (shift + enter/return)
- To make an image into a link, first insert the image, then click on the edit box that appears over the image in the editor. A pop up should appear with the link field in it.
- To make a link to a document like a pdf, click the paper clip in the insert buttons, add the text you want to use as the link and upload the file.
Here is an explanation of the icons at the top of the MightyMerchant Text Editor and what they do.
The HTML Button

This button allows you to view the HTML version of the text. If you know HTML code and want to add code directly to the text you'll use this button. If you don't know any HTML code, don't worry about it! Almost anything you need to do can be accomplished with one of the other buttons.
The Formatting Button.

This button is similar to the styles drop down menu in the old editor. If you click the button, a drop down menu of different text styles appears which you can use to change the look of your text.
The Font Buttons

These are not unlike what you might find in a word processor like Microsoft Word. These give the options to
bold, Italicize, or strikethrough.
The List Buttons

The list buttons allow you to: create unorganized lists, create ordered list, as well as indent and outdent, which in addition to operating much like the tab key on your keyboard, can also turn lists into outlines.
The Insert Buttons

These allow you to insert images, videos, files, tables, and links. These may seem very similar to the old editor but they are easier to access and give you many more features. For example it is much easier to size and move around images.
The Font Color Buttons

The font color buttons allow you to change the color of your font, and also the background color (similar to the highlighter feature on many word processors).
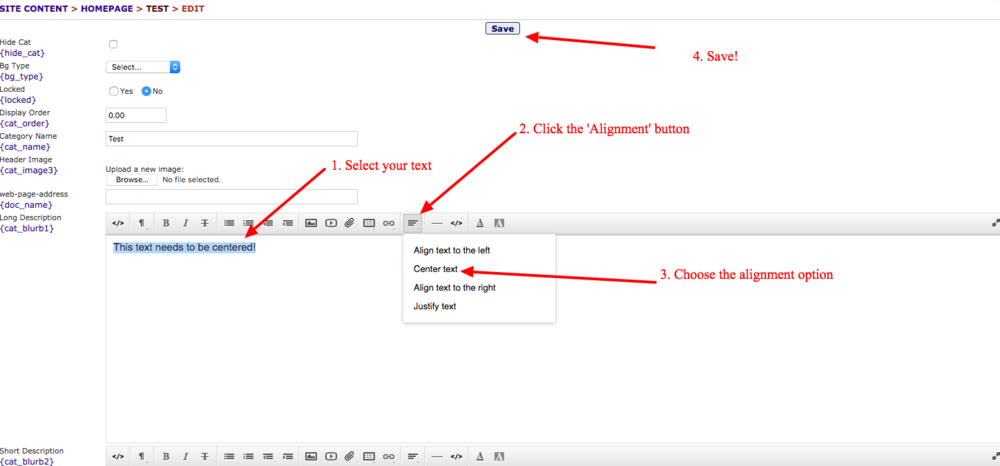
The Alignment Button

The alignment button allows to switch the side of the page that your text is aligned with.
The Horizontal Line Button

This buttons allow you to add a horizontal line which can help add some separation to your content. Here is an example of a horizontal line:
The Change Style Button

You can use this button to create more buttons! Just type whatever text you'd like to appear on the button, highlight that text and choose from a button type:


If you would like to add a link to the button, first highlight the text and add your link:
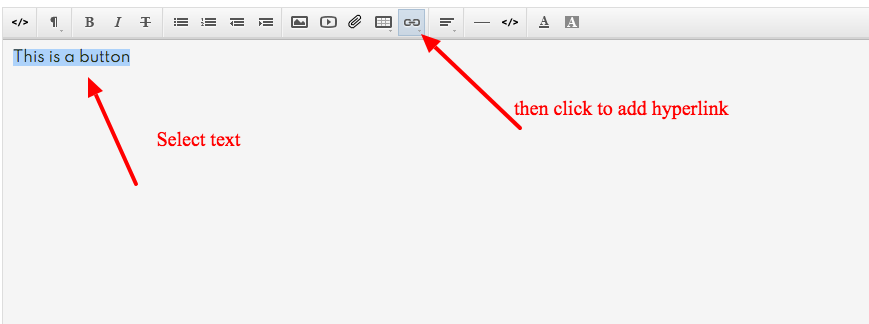
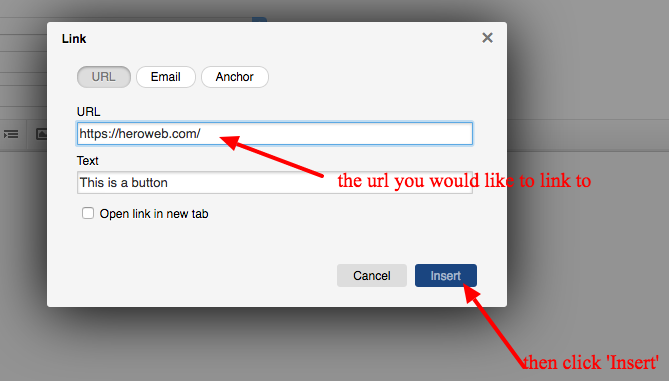
And then follow the steps above and you will have a linked button.

